Bij EeStairs houden we rekening met CO₂-uitstoot tijdens het volledige productieproces.
Uw configuratie bepaalt de geschatte CO₂-uitstoot van uw trap, deze wordt hier weergegeven. We tonen dit hier om u een helder beeld te geven van de milieueffecten.
Bij EeStairs meten we CO₂-emissies in elke fase van het productieproces, zodat duurzaamheid in elke stap centraal staat.
Elke trapconfiguratie heeft een eigen ecologische voetafdruk, berekend op basis van materiaalgebruik, energieverbruik en productie-efficiëntie. Deze geschatte CO₂-waarde tonen we hier, zodat u precies weet wat de milieu-impact van uw trap is en weloverwogen keuzes kunt maken.
Ons geavanceerde robotassemblageproces vermindert afval en verhoogt de precisie, waardoor de ecologische voetafdruk kleiner wordt. We blijven onze technieken verbeteren, energieverbruik verlagen en materialen efficiënter inzetten, zonder concessies te doen aan kwaliteit en duurzaamheid.
Kiest u voor een EeStairs-trap, dan kiest u voor een product dat tientallen jaren meegaat, waardoor vervangingen en de bijbehorende emissies beperkt blijven. Duurzaamheid betekent voor ons niet alleen minder uitstoot nu, maar ook efficiëntie en kwaliteit op de lange termijn.
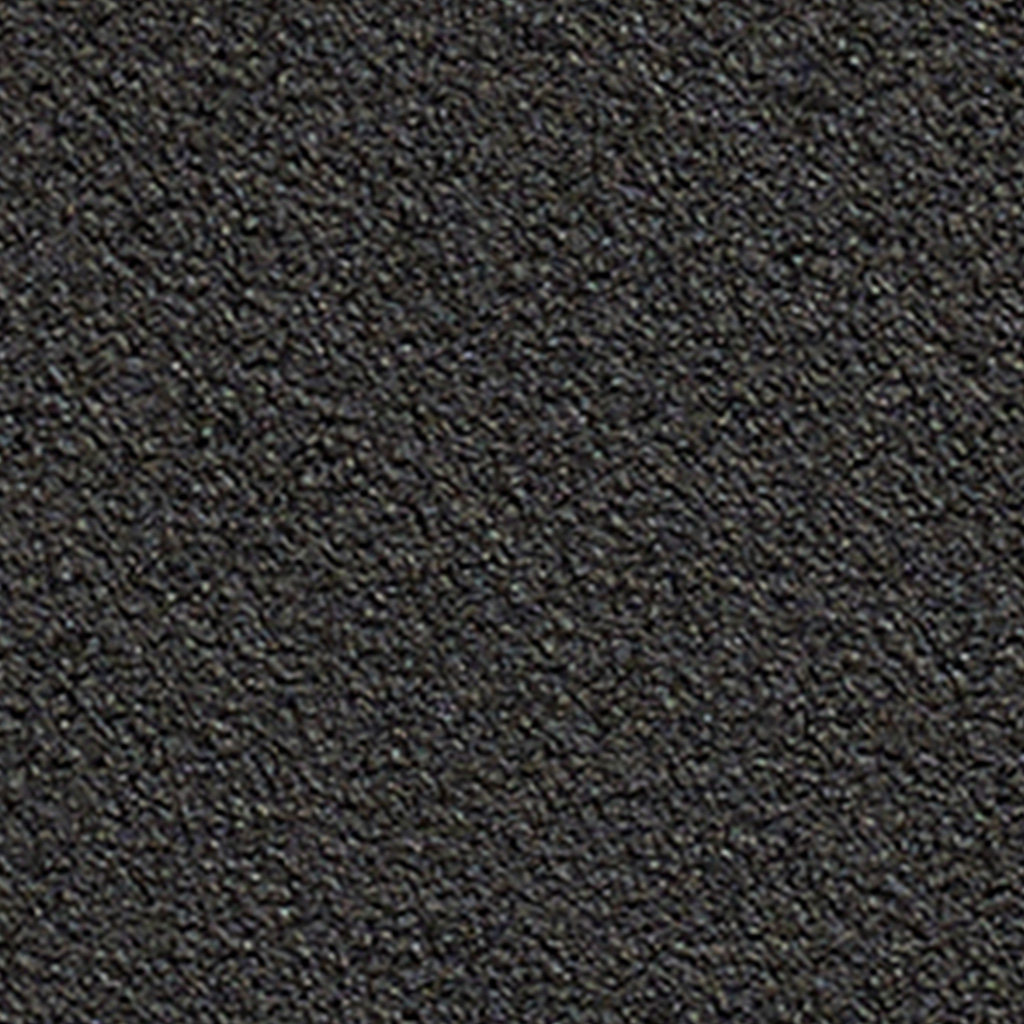
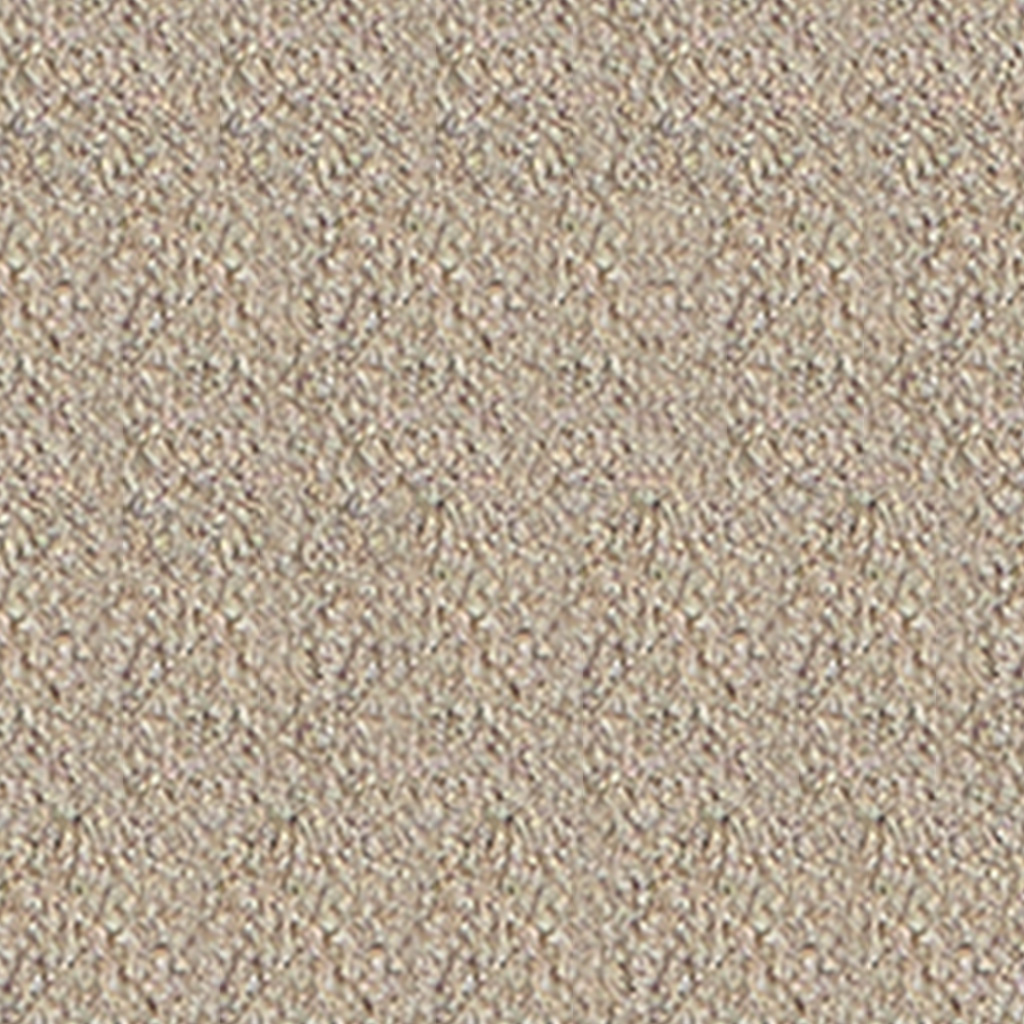
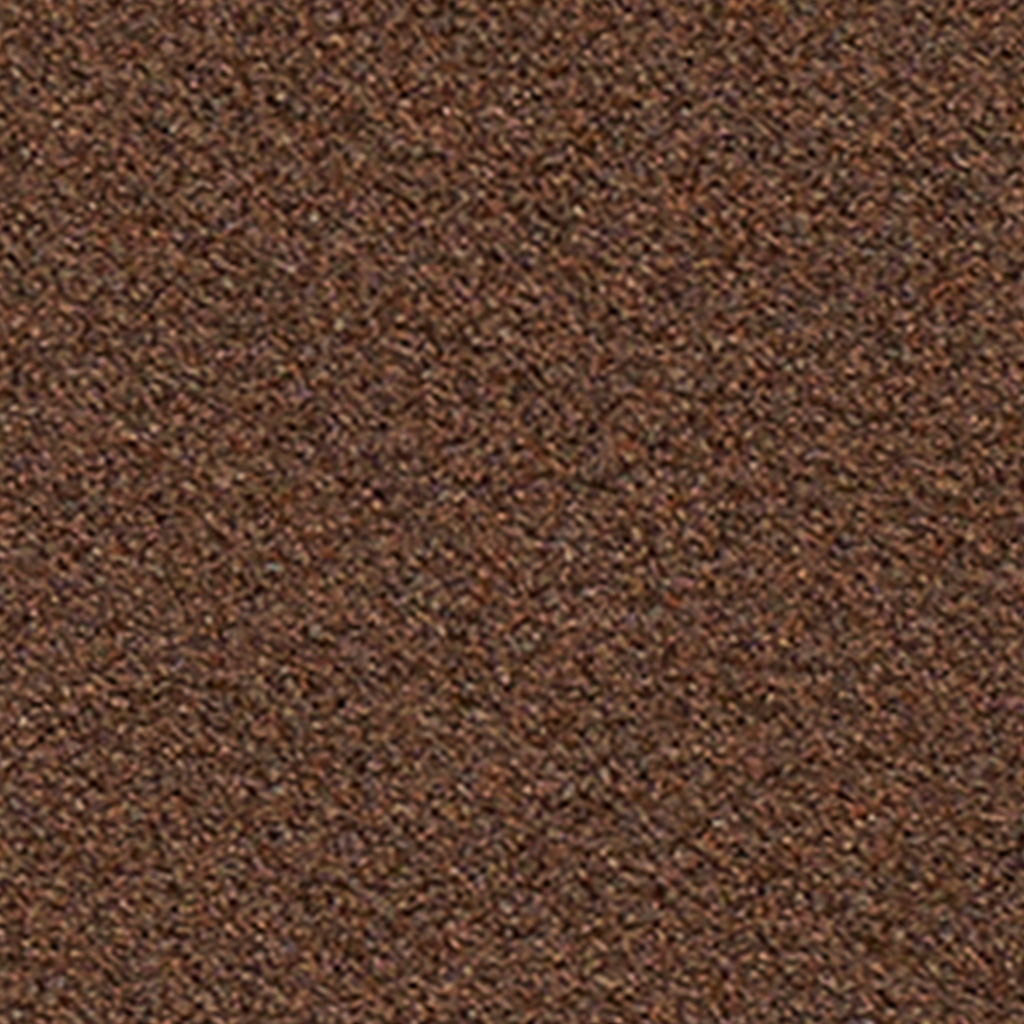
Special Colour Samples for €15
Explore our exclusive, internationally available Special Colour Samples, divided into three
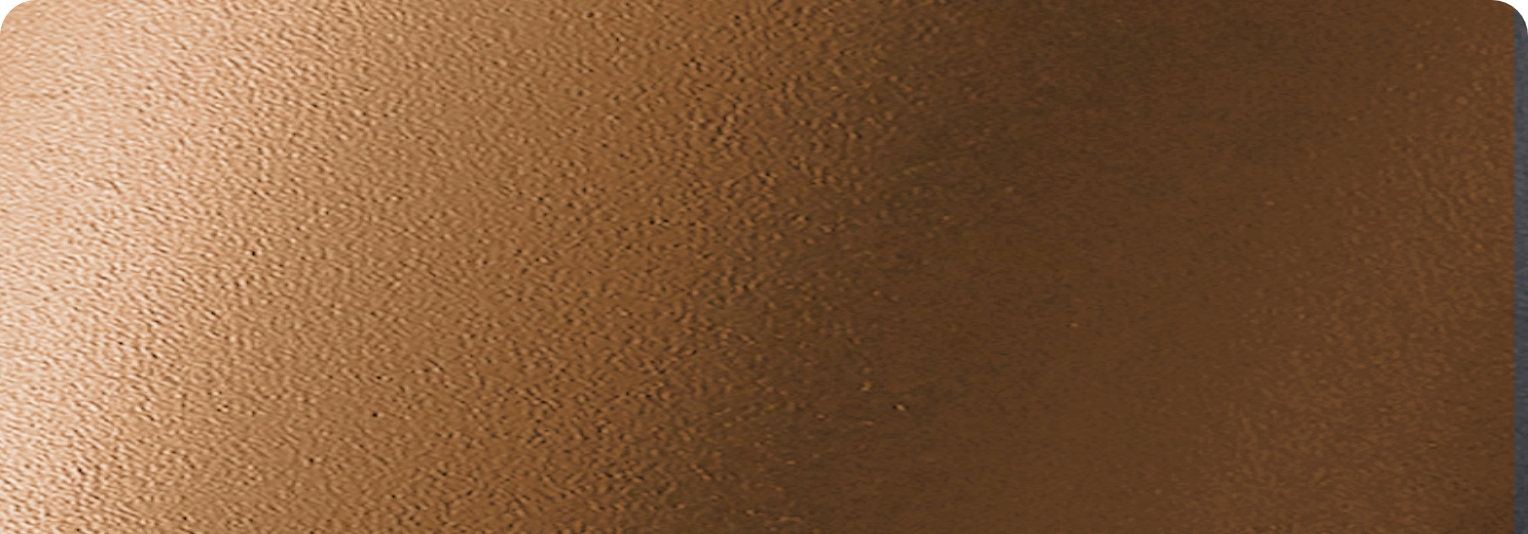
categories: Urban Vertigo, Silica Storm, and Galactic Sky. These unique, visually stunning 1m2™
stair finishes will completely transform your interior. Free shipping across Europe.
Bestemmingsland
Kies het land waar uw Clips™ zal worden geplaatst.
Service
Selecteer de diensten die u van ons wenst met betrekking tot levering.
Levering & Installatie
Ons team levert de Clips™ en verzorgt de volledige installatie. We zorgen ervoor dat uw nieuwe trap perfect is geïnstalleerd, veilig is en klaar voor gebruik. Deze optie is ideaal voor wie een zorgeloze ervaring wil.
Transport
De installatie kan door uzelf of door een ander installatiebedrijf van uw keuze worden uitgevoerd, aangezien dit vrij eenvoudig is met behulp van onze installatiehandleiding en videotutorial.
Transportkosten
Bij het plaatsen van een transportopdracht zijn de opgegeven transportkosten een schatting. In uitzonderlijke gevallen kunnen de werkelijke kosten hoger uitvallen door onvoorziene omstandigheden.
Als de werkelijke transportkosten 20% of meer boven de schatting liggen, wordt het verschil aan de klant doorberekend. Dit garandeert een betrouwbare en efficiënte transportservice.
Ophalen
De Clips™ kan worden opgehaald in Barneveld [NL] of Brantford [CA].
Comfort Steps
Comfort Steps apply when your stairs are wider or deeper than 1000 mm.
Want the smoothest and most comfortable way to walk up your stairs? Comfort Steps give you wider
treads, creating more space for your feet and ensuring a stable, natural step. This makes walking up
easier, especially if your stairs are frequently used or if you simply want extra comfort.
Strong & Durable Design
When you increase the width beyond 1000 mm, the stair material is upgraded for extra strength.
- Under 1000 mm: Steps are 4 mm thick
- Over 1000 mm: Steps are 5 mm thick
No matter the size, the steps are exceptionally strong and can hold up to 300 kg per step, ensuring
durability and safety.
Stairs wider than the opening.
Your staircase width doesn’t have to match the exact opening! Keep the upper section
aligned for a seamless fit while adding extra width at the base.
For example, if your stair opening is 1000 mm wide and enclosed by walls, a perfect fit
would be 940 mm. But if you have extra space at the bottom, extending the width allows for
an even more comfortable and secure walk up.
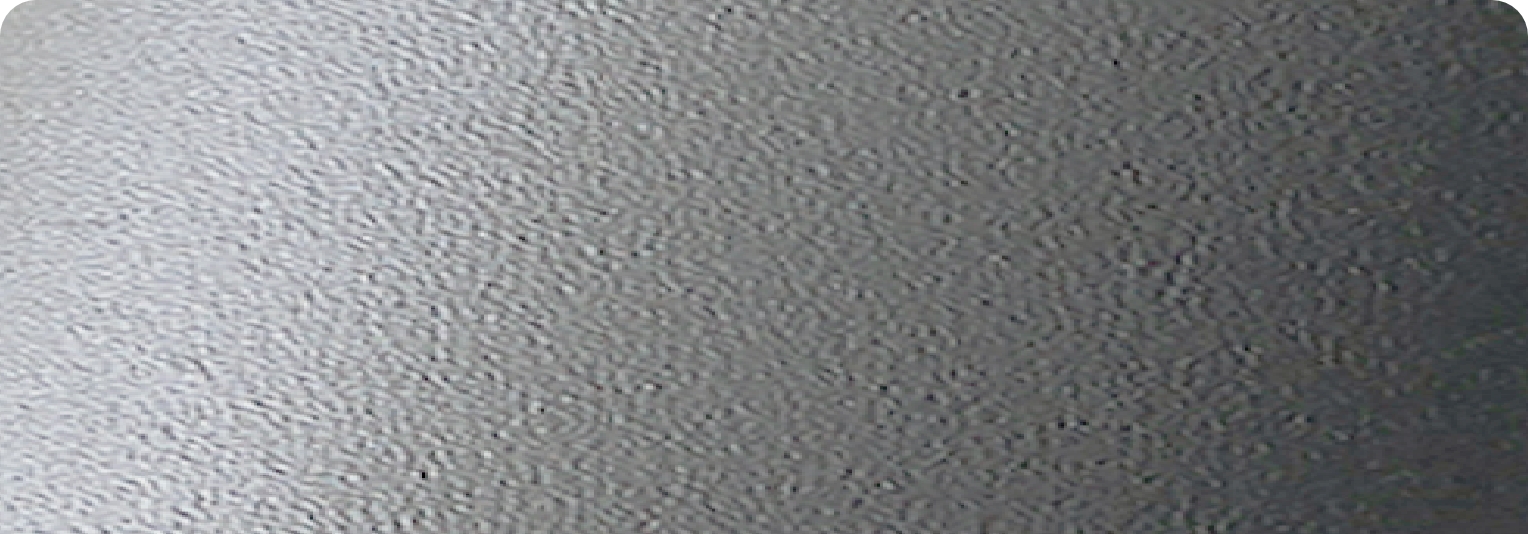
Parelgestraald roestvrij staal is roestvrij staal met een matte, gelijkmatige afwerking die ontstaat door fijne glasparels op het oppervlak te stralen.
This guide provides you with detailed steps to accurately measure your space to ensure that your
new staircase fits perfectly and enhances your environment. Follow these instructions closely to
prepare for a successful installation. Let’s get started with the essential measurements.
Essential dimensions
Width Stairs
Measure the Stairwell: Use a tape measure to find the distance
across the
stairwell where your stairs will fit.
Adjust for Clearance: Deduct 60 mm from your stairwell
measurement to maintain a
30 mm gap on each side, ensuring everything fits nicely and operates smoothly.
Tip – Consider Wider Steps.
You can make the bottom four steps wider than the stairwell width, while keeping the
top
consistent for a perfect fit. Feel free to add extra width at the bottom!
For example, if your stairwell is 1000 mm wide and there are walls on both sides, the
ideal staircase width would be 940 mm. However, if you have room for wider steps at the
base, you can make the stairs as wide as you wish.
Depth Stairs
Measure the Stairwell Depth: Use a tape measure to determine
the distance from the front to the back of the stairwell.
Allow for Clearance: Subtract 30 mm from your measurement to
keep a free space between the back of the stairs and the stairwell wall, enhancing
functionality and safety.
For example, if your stairwell is 1000 mm deep, the ideal staircase depth would be 970 mm.
This simple measurement ensures a proper fit and smooth operation of your staircase.
Height Stairs
Measure Vertical Distance: Using a tape measure, determine the
height from the floor at the bottom of the stairs to the top of the floor on the next level.
Account for Floor Finish: Make sure to measure after any floor
finishes (like carpet or tiles) have been laid, to include their thickness in your height
calculation.
For instance, if the vertical distance measures 2700 mm from one floor to the next, that is
the height you should use for your stairs. This straightforward approach ensures your
staircase connects smoothly between floors.
Optional dimensions
Width Stairwell
Measure Horizontally: Use a tape measure to record the
horizontal distance across the stairwell at the widest point.
That’s it! This quick measurement will help you determine the maximum available space for
your
staircase.
Width Stairwell
Measure Front to Back: Use a tape measure to determine the
distance from the front edge of the stairwell to the back.
This quick step ensures you know the total depth available for installing your staircase.
Floor Thickness
Measure Thickness: Directly measure the thickness of the floor
at the stair opening from the top surface to the bottom.
This measurement generally does not affect the dimensions of your staircase, unless the
entered
value is exceptionally high or low.
Mounting Hole Height
Measure Downward: From the top edge of the floor where the
staircase will be attached, measure 70 mm downward. This is your initial mounting hole height.
Check for Obstructions: Inspect the area for any obstructions
(like electrical wiring, plumbing, or beams) that might prevent drilling at this height.
Adjust if Necessary: If obstructions are found at the 70 mm
mark, determine a new height for the mounting holes where it’s clear to drill safely.
Base Plate Hidden in Screed
When installing your staircase, it’s crucial to know whether the base plate will be hidden in
the screed or mounted on the finished floor:
Not on Finished Floor: If the staircase base plate is to be
embedded within the screed (the layer beneath the final floor finish), measure the thickness
of
the screed. Enter this measurement as the value for ‘Base Plate Hidden in Screed’.
On Finished Floor: If the staircase will be attached directly
to
the finished floor, keep the value at 0. This indicates that the base plate is not hidden and
sits flush with your finished floor level.
This setting helps ensure that your staircase installation aligns perfectly with your
flooring
setup, whether it’s embedded within the screed or mounted on the finished surface.
Still Having Trouble with Your Measurements?
If you’re finding it difficult to get the right measurements or have any concerns about
the
configuration, don’t worry—we’re here to help! Once you’ve done your best with the
measurements and completed the configuration, take advantage of our ‘Expert Review’
option.
Here’s how to proceed:
Complete Your Configuration – Finish setting up your staircase using the
measurements you’ve taken the best you can.
Request an Expert Review – Submit your configuration along with images of
your stairwell and any areas you’re unsure about.
Tell Us Your Concerns – When requesting the review, include any specific
questions or concerns you have.
An EeStairs expert will review your information and get back to you with guidance and
support
to ensure everything is set up perfectly. We’re here to ensure that your installation goes
smoothly!
Options
The image on the left shows the default option. The image on the right illustrates what it looks
like when the optional feature is added.
Easy Accessibility
For spaces where maneuvering a single, large structure is challenging, our 1m2™ stairs offer a
practical solution. They can be supplied in two halves that securely attach almost seamlessly.
This design not only simplifies the transportation and installation process but also ensures that
the staircase can be moved through restricted spaces with ease. Choose the Easy Accessibility
option for a straightforward, hassle-free setup in any location.
Riser Bars
Riser bars add safety and stability to your staircase. They are the vertical elements that fill
the open space under each step, preventing objects or feet from slipping through. Our riser bars
are designed not only for functionality but also to complement the modern aesthetics of your
stairs. With easy installation, they are an essential component for ensuring your staircase meets
both safety standards and your personal style preferences.
Remove Anti-skid Plugs
While the Anti-skid plugs on our 1m2™ stairs offer additional safety by preventing slipping, some
opt to remove them for a more streamlined look. It’s important to note that doing so could
increase the likelihood of slipping. For the best balance of style and safety, we recommend
keeping the Anti-skid plugs, ensuring each step is secure underfoot.
Removable Handrail Section
By easily unscrewing the top section of the handrail, you create temporary extra space around the
stair opening, making it easier to move large or awkward items. Once finished, simply reattach the
top section to maintain the sleek look of the 1m2™ by EeStairs.
Lowered Top Tread
When customizing your 1m2™ stairs, you can choose a regular top step that is flush with your
floor level or opt for a lowered top tread, which is one step down from the floor level. The
latter is often preferred for access to roof hatches and similar setups, and it includes a
handrail whose top can be easily screwed on or off to suit the unique height requirement.
Stainless Steel Handrail
The standard handrail is made of mild steel, matching the rest of the staircase in color. The
stainless steel handrail has a brushed finish and is not powder-coated.
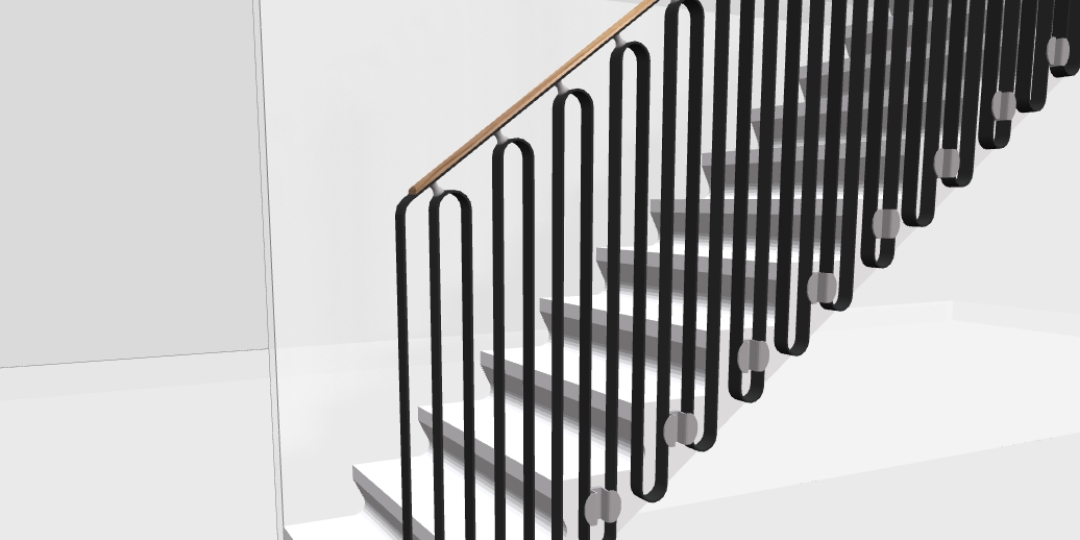
Void Balustrades
Our void balustrades are designed to encircle your stairwell, providing an extra layer of safety
without compromising on style. Standing at a precise height of one meter and customizable in
width, they are tailored to fit the dimensions of your space. The balustrades will match the color
finishing of your 1m2™ stairs for a cohesive look. Whether you’re looking to safeguard an open
stairwell or delineate an area, these railings are an essential addition, ensuring peace of mind
with their robust construction and sleek design.
Bekijk uw configuratie opnieuw
Vul uw gegevens in om uw configuratie later gemakkelijk opnieuw te bekijken.
Leuningen
Dit zijn de Clips™ leuningen die aan één of beide zijden van de trap zijn gemonteerd.
Leuningen
Selecteer of u een wandleuning langs de trap wilt installeren.
Geen
Het selecteren van "–" betekent dat er geen (wand)leuning aan dit deel van de trap wordt toegevoegd.
Verdieping-tot-verdieping hoogte
Voer de verticale hoogte tussen twee verdiepingen in (FTF-hoogte) en geef aan voor hoeveel verdiepingen deze hoogte geldt.
Elke rij bevat:
FTF-hoogte
De hoogte tussen twee opeenvolgende verdiepingen
Aantal verdiepingen
Hoe vaak deze hoogte zich herhaalt.
Verdiepingen
Bepaalt voor welke verdiepingen deze hoogte geldt. Gebruik de plus-/minknoppen om het verdiepingsbereik te verschuiven.
Gebruik ‘Toevoegen’ om een extra rij in te voegen.
Gebruik de plus-/minknoppen om het aantal verdiepingen en het verdiepingsbereik aan te passen.
Videbalustrades
Videbalustrades worden geplaatst rond een open vide of mezzanine om veiligheid te garanderen en het ontwerp visueel door te trekken. Ze verbinden verdiepingen op een stijlvolle manier en voorkomen vallen.
Vide balustrades
Voer de lengte en het aantal vide leuningen in. Vink "Basis" aan als een vide balustrade basisprofiel vereist is voor deze lengte. Het basisprofiel is het onderste bevestigingsprofiel dat wordt gebruikt om de leuning langs de rand van de vide te monteren of te ondersteunen.
Geometrie
Hier ziet u de trapgeometrie, inclusief de verdiepingshoogten, optrede en aantrede, evenals de totale lengte van de leuningen, wandleuningen en vide balustrades.
Stelpost voor installatie toevoegen
Gebruik deze functie om uw eigen installatie-, service- of andere bijkomende kosten boven op de productprijs op te nemen. U kunt een vast bedrag
invoeren of een waarde berekenen op basis van de afmetingen van de trap of balustrade. Als dit niet op uw situatie van toepassing is, kunt u deze sectie gewoon
overslaan.
Titel
Prijs
Titel
Hoeveelheid (m)
Prijs / m
Totaal
Waarschuwing!
Waarschuwing: je staat op het punt een trap te bewerken, alle wijzigingen worden meteen opgeslagen.
Waarschuwing!
De configuratie is gewijzigd in een ander tabblad. Vernieuw de pagina om te synchroniseren met je laatste selectie.
Als u deze configuratie opent, wordt uw huidige Clips-trap(pen) vervangen. Wilt u verdergaan?
Algemene voorwaarden
Op maat gemaakt Dit product wordt op bestelling gemaakt. Het wordt specifiek voor u geproduceerd nadat uw aankoop werd geplaatst.
Voorbestelling Dit product wordt aangeboden als voorbestelling. De productie start nadat een vastgelegde bestelperiode is afgesloten. De levertijd kan daardoor langer zijn dan bij standaardartikelen.
Niet terugbetaalbaar Dit product is niet terugbetaalbaar. Door uw bestelling te voltooien en verder te gaan naar de bevestigingspagina aanvaardt u deze voorwaarden en ziet u af van uw recht op herroeping en retour.